OtherEN
Intro to Git — Snapshots, Branches & Sharing
 WorkshopyOfficial
10 stepsQuiz9 interactiveDiagram
gitversion controlbeginners
Used by 1 teacherBeginner
JavaScript exercises for beginners you run in the step: variables, if, functions, loops and the DOM, ending with a button you wire up yourself.
WorkshopyOfficial
78 lessons · used by 2 teachers
Sign in to copy it to your workspace. It’s free.
9 steps · 2 quizzes · open any step, or read it here
In this lesson you practise JavaScript with exercises for beginners: variables, functions, arrays and the DOM, ending with a button you wire up yourself. Every exercise runs in the step: you type code, press Run, and the lesson checks each task as you go.
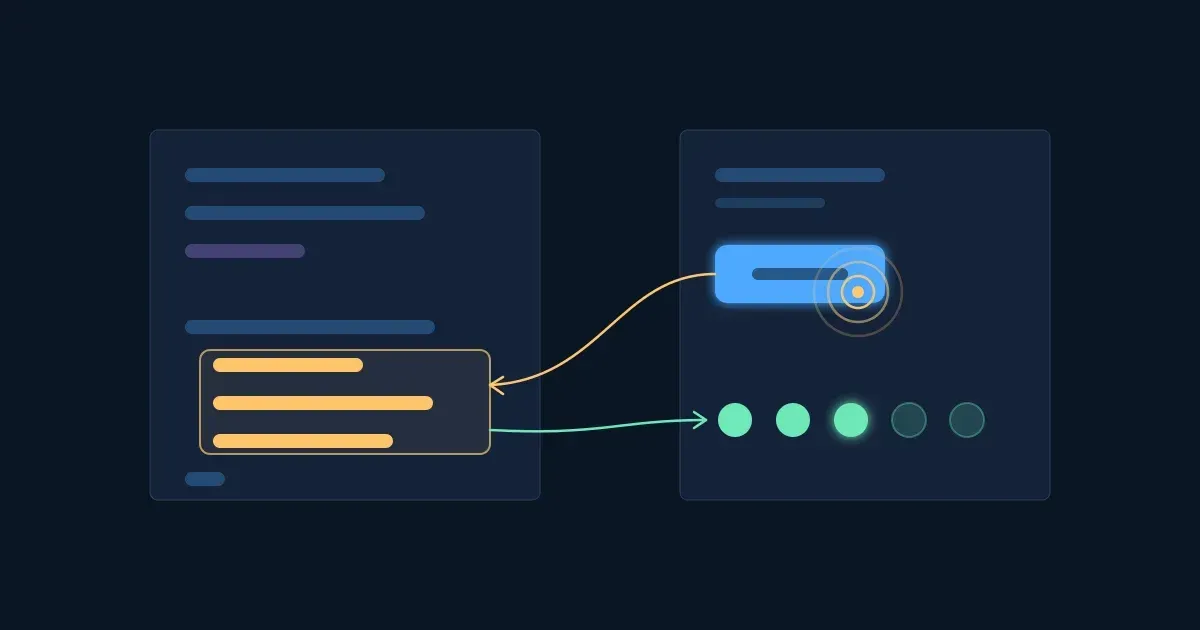
JavaScript is the language every web browser runs. It turns a page that only shows things into a page that does things: a cart that counts, a form that checks itself, a button that answers. The block below is a taste of where you'll be at the end. The code on the left really runs. Press Add to cart and watch which lines light up.
Interactive · Add to cart: code that answers a click — try it in the lesson
In this lesson you'll:
let and const, and see why the difference matters;if;return a result, and loop over an array of sales;It takes about 75 minutes. Each hands-on step has a small editor with tasks above it. A task turns green when the code does what it asks, and every task has a Hint.
How to read the output: console.log(x) prints x in the Console output box. Text prints as it is, a list prints like [ 1, 2, 3 ], and an error prints in red with the line it stopped on.
Takeaway: JavaScript reads values, changes them and reacts to the page. You'll write each piece of that yourself.
A variable is a name for a value, so you can use it later. You make one with a keyword, a name, = and the value:
const team = "Support";
let openTickets = 5;
const makes a name that always points at the same value. Use it by default: most values in a program never change.let makes a name you can point at a new value later: openTickets = 4;. Use it for counters, totals and anything that moves.var in older code. It is the old way and behaves in surprising ways; write let or const.Names can hold letters, digits, _ and $, can't start with a digit, and are case-sensitive: openTickets and opentickets are two different names. The usual style is camelCase: each new word starts with a capital.
Try it: do the three tasks below. Task 3 makes an error on purpose, so you can see what JavaScript says when you break a rule.
Interactive · Practice: let and const — try it in the lesson
Takeaway: start with const; switch to let only when the value has to change.
Every value has a type. The three you'll use most:
| Type | Examples | What it's for |
|---|---|---|
| number | 40, 3.5, -2 |
counting and maths |
| string | "Headset", 'hello' |
text, always in quotes |
| boolean | true, false |
yes or no |
typeof tells you a value's type: typeof 40 is "number", typeof "40" is "string". That difference matters, because + does two jobs: it adds numbers and joins strings. When one side is a string, JavaScript joins, so "5" + 3 is "53", not 8. Data from a form or a file usually arrives as text, so this catches everyone once. Number("5") turns the text into a number first.
To build a sentence from values, use a template literal: backticks instead of quotes, and ${ } around each value:
const product = "Headset";
const total = 120;
console.log(`Your ${product} order costs ${total}`);
// Your Headset order costs 120
Try it: do the three tasks. The starting code already prints two types and the "5" + 3 surprise.
Interactive · Practice: numbers, strings and template literals — try it in the lesson
Takeaway: know the type of your value; + with a string joins, and template literals build sentences cleanly.
Four quick questions on the first three steps.
Question 1. What happens when this runs? `const limit = 5; limit = 6;`
Question 2. What is `typeof "42"`?
Question 3. What does `console.log("2" + 2)` print?
Question 4. What does this print? `` const n = 3; console.log(`${n} new tickets`); ``
Programs make choices. if runs a block of code only when its condition is true; else runs when it isn't:
const ticketsOpen = 12;

if (ticketsOpen > 10) {
  console.log("Busy day");
} else {
  console.log("Quiet day");
}
A condition is anything that is true or false. Compare with >, <, >=, <=, === (is equal to) and !== (is not equal to). Use three equals signs to compare: a single = gives a value, it doesn't compare.
else if adds more choices. JavaScript checks them from the top and runs only the first one that is true, so put the strictest condition first. With 25 tickets, ticketsOpen > 10 is already true, so a > 20 check written below it never gets its turn.
Try it: write the rules for a support team's day. The checker runs your code several times with different numbers of tickets and shows what each run printed.
Interactive · Practice: if, else if and else — try it in the lesson
Takeaway: conditions are checked from the top and only the first true one runs, so order them from the most specific to the most general.
A function is a piece of code with a name that you can run again and again with different inputs. You write it once:
function withShipping(price) {
  return price + 5;
}
price is a parameter: a name for the input. return hands a value back to whoever called the function and ends it. Then you call it with values:
console.log(withShipping(50));  // 55
console.log(withShipping(12));  // 17
return is not the same as console.log. console.log shows a value to you; return gives it to the rest of the program, so you can store it (const due = withShipping(50);) or pass it on. A function without return gives back undefined.
Try it: write three small functions you could find in a shop's code. The checker calls each one with test inputs and shows what came back, the way an automated test does at work.
Interactive · Practice: functions that return a value — try it in the lesson
Takeaway: a function takes inputs and returns one value; return it, and let the caller decide what to do with it.
An array is a list of values in square brackets. Items are counted from 0:
const sales = [120, 80, 200, 45, 150];
console.log(sales[0]);      // 120
console.log(sales.length);  // 5
sales.push(60);             // adds 60 at the end
A loop runs the same code once for each item. for...of is the easiest to read: on each turn, sale is the next item.
for (const sale of sales) {
  console.log(sale);
}
The usual pattern is start a result before the loop, update it inside, use it after: a total starts at 0 and grows by each sale; a count starts at 0 and grows by 1 when an if says so. Every report you have ever seen with a total row was built this way.
Try it: total this week's sales, count the big ones and add a late sale.
Interactive · Practice: arrays and loops — try it in the lesson
Takeaway: start the result before the loop, change it inside, read it after.
Read each piece of code and type exactly what console.log prints. Work it out in your head, line by line, before you answer.
let count = 3;
count = count + 2;
console.log(count);
console.log("4" + 4);
const name = "Noa";
console.log(`Hi ${name}, welcome back`);
function double(n) {
  return n * 2;
}
console.log(double(double(3)));
const items = [4, 9, 2];
let biggest = items[0];
for (const n of items) {
  if (n > biggest) {
    biggest = n;
  }
}
console.log(biggest);
const minutes = 7;
if (minutes > 10) {
  console.log("late");
} else if (minutes > 5) {
  console.log("a little late");
} else {
  console.log("on time");
}
The page you see is built from HTML, and the browser keeps it as a tree of elements your code can reach: the DOM (Document Object Model). Two tools do most of the work:
document.querySelector("#headline") finds the first element that matches a CSS selector: #headline for the id headline, .price for the class price, li for a tag. If nothing matches, it gives back null.element.textContent is the text inside an element. Read it to see what the page says; give it a new value to change what the page says.const headline = document.querySelector("#headline");
headline.textContent = "Support desk";
To add something new, make an element with document.createElement("li"), give it text, and put it on the page with append.
Try it: the dashed box is a small page with a headline, a ticket count and a list. Change it from the code. Each Run starts from the original page, so your code always starts on the same page.
Interactive · Practice: change the page with querySelector and textContent — try it in the lesson
Takeaway: querySelector finds an element, and textContent reads or changes what it says.
A page becomes interactive when code runs in response to something the user does: a click, a key, a form being sent. addEventListener connects an element to a function:
const button = document.querySelector("#like");

button.addEventListener("click", function () {
  console.log("clicked");
});
The first argument is the event's name ("click"). The second is a function the browser runs every time that event happens, not now. The code around it runs once; the function inside waits.
State that must survive between clicks, like a count, lives outside the function, in a let. If you put let count = 0 inside the function, every click starts again at 0.
Try it: build the "Was this answer helpful?" widget found under help-centre articles. After you press Run, the buttons in the page box are live: click them yourself. The checker also clicks them for you, on a fresh copy of the page.
Interactive · Practice: wire up a button with addEventListener — try it in the lesson
Takeaway: addEventListener hands the browser a function to run later, every time the event happens; keep state outside it.
Six questions across the whole lesson. One asks you to pick every right answer.
Question 1. You need a running total that grows as you loop. How do you declare it?
Question 2. What does this print? `function f() { 2 + 2; } console.log(f());`
Question 3. Which of these print 10? (pick all that apply)
Question 4. `const score = 95;` What does this print? `if (score > 50) { console.log("pass"); } else if (score > 90) { console.log("top"); }`
Question 5. Which line changes the text of `<p id="msg">` to Saved?
Question 6. In `button.addEventListener("click", update)`, what is `update`?
Workshopy shares this lesson under CC BY 4.0. Anyone may use and change it, with credit to you. Anyone can learn it here, free. A copy in your workspace is yours to change and run live; your students never need an account.
Version 1Current
· First published
Copies are made from the current version. A copy you already have doesn’t change.
WorkshopyOfficial10 stepsQuiz9 interactiveDiagram
gitversion controlbeginners
WorkshopyOfficial16 steps2 quizzes15 interactiveDiagram
workshopyproduct touronboarding
WorkshopyOfficial10 steps2 quizzes10 interactive
data-literacystatisticsmean and median
WorkshopyOfficial11 steps2 quizzes10 interactive
webapisjson
WorkshopyOfficial10 steps2 quizzes9 interactive
webcss flexboxflexbox
Comments
No comments yet. Be the first to say how it went.